In late 2017 as Glenn, K2FF and I continued to expand the NA5NN contest station at my QTH in Lumberton we decided it was time for a second tower. I had recently taken an old Cushcraft 40-2CD 2 element 40M mono-bander and modified it to a Moxon design based on W6NL’s conversion. We wanted one tower for the primary 10-20M antenna, a Tennadyne and another for the 40M Moxon. The T8 was currently installed on my Rohn 25G tower and I had acquired a full-sized free standing Rohn BX-64 tower. We decided to utilize the BX-64 for the T8 due to its smaller size/weight and put the big Moxon on the 25G. We finally got around to getting the BX-64 in the ground in Dec, 2017. The following photos and descriptions documents setting the base.
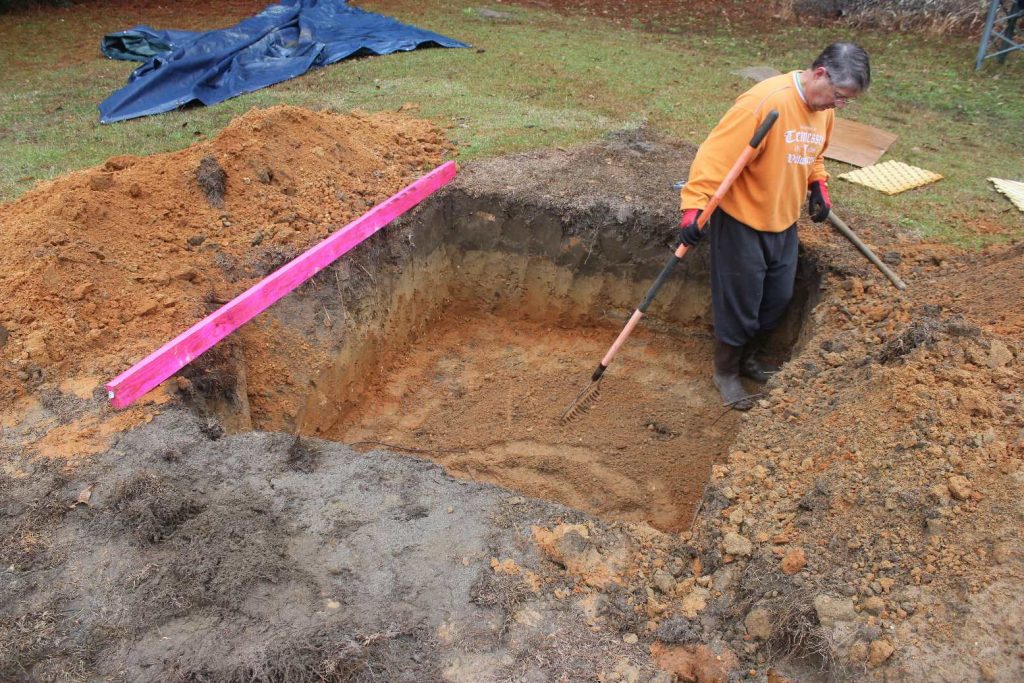

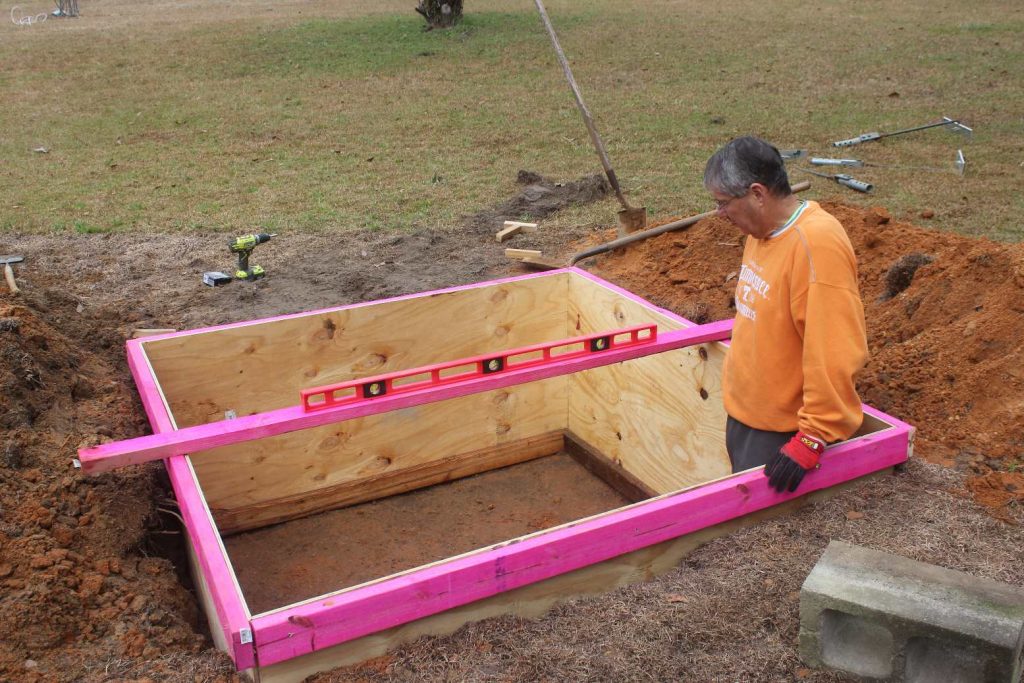
So, it all starts with a hole, and this tower takes a BIG one to provide an adequate foundation. I needed something roughly 6’x6’x34″ deep. Another 599 DX Association member, Curt – N5CW lives nearby and has a tractor. Curt was kind enough to come out and dig the “raw” hole with his backhoe attachment a few weeks earlier. This was a major help!! In the 3 photos above Glenn and I spent the better part of a day in mid-Dec “dressing” it up, making it square and level at the bottom. The depth of the hole itself was a little over 24″ but we had decided to box and frame it with plywood and 2x4s to bring it up to the full 34″ depth.
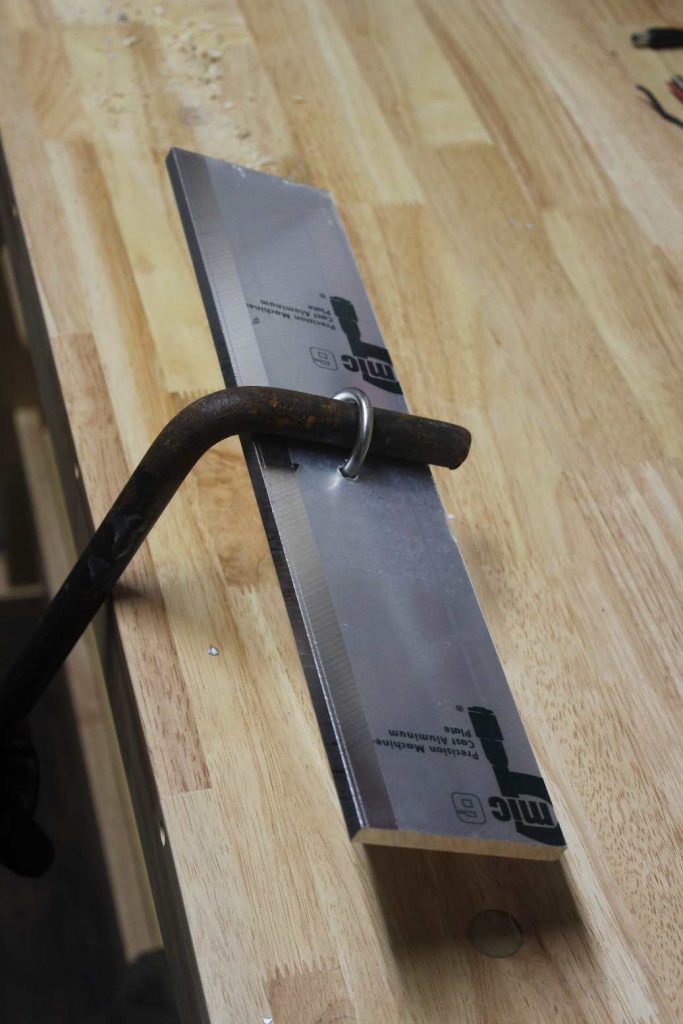


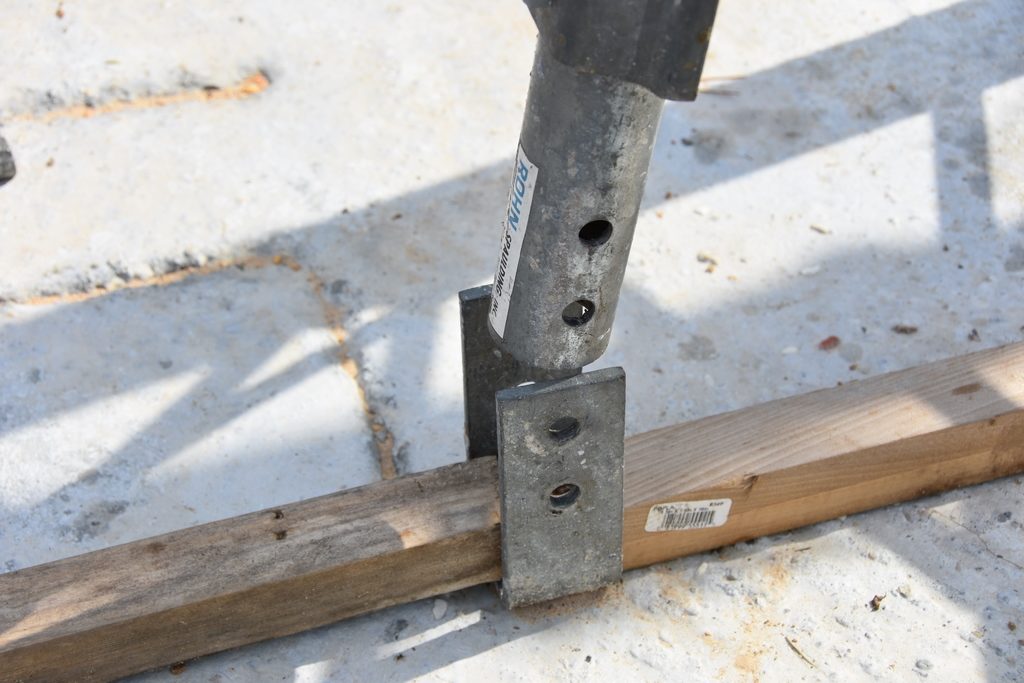
A few months earlier at the Huntsville Hamfest I had found these BX tilt-base supports. I was really interested in a tilt solution if at all possible and Glenn and I had discussed a few options for assembling the entire 64′ on the ground and then raising. Even if we couldn’t get the entire 64′ assembled and raised, any sections we could attach on the ground would make installation easier. More on that later. I got these at a really good price but they were not the heavy duty style that Rohn makes for the full BX-64 tower base. However, a little improvising of attaching these 1/4″ thick aluminum plates to each leg with a “U” bolt gave them a lot more “holding” strength in the cement.

So, how much Quickcrete does it take to fill a 6’x6’x34″ hole?? The answer is 165 80 lb bags!!! I have a REALLY good neighbor, Tony Pigeon. Not only did he offer to use his trailer and truck to haul the bags from Hattiesburg but he also let us use the electric mixer and most importantly, was there with us on pouring day. A few days before we had scheduled to pour Tony and I went and picked up the Quickcrete. We were having showers on and off that week and it looked like these few days wouldn’t be too bad. But I still covered the trailer with a tarp just in case we got a sprinkle before we poured, which we did.


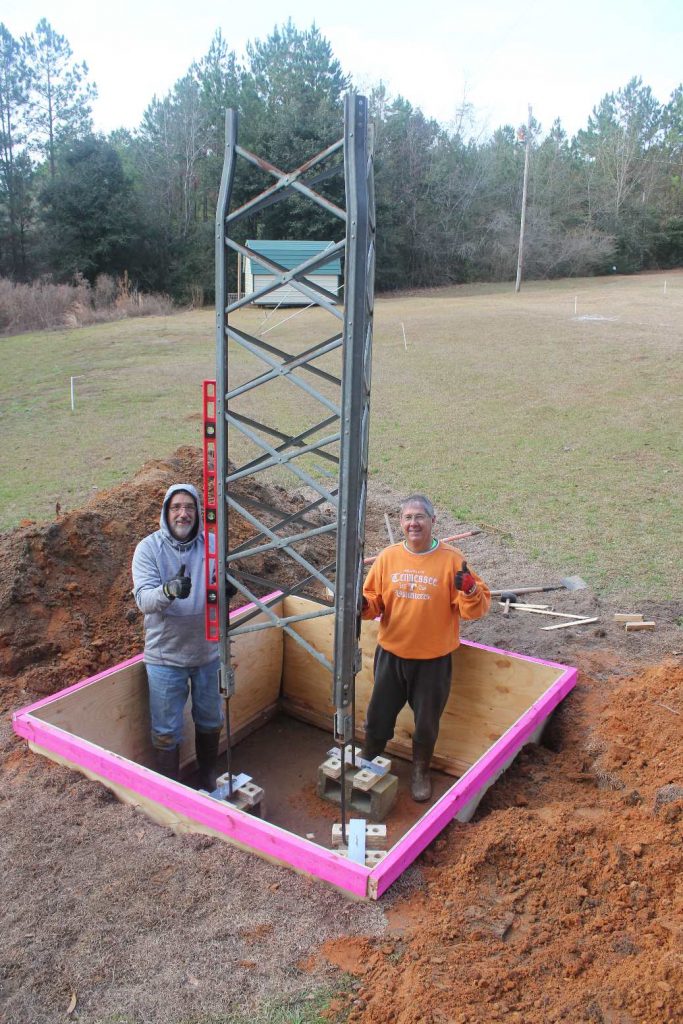
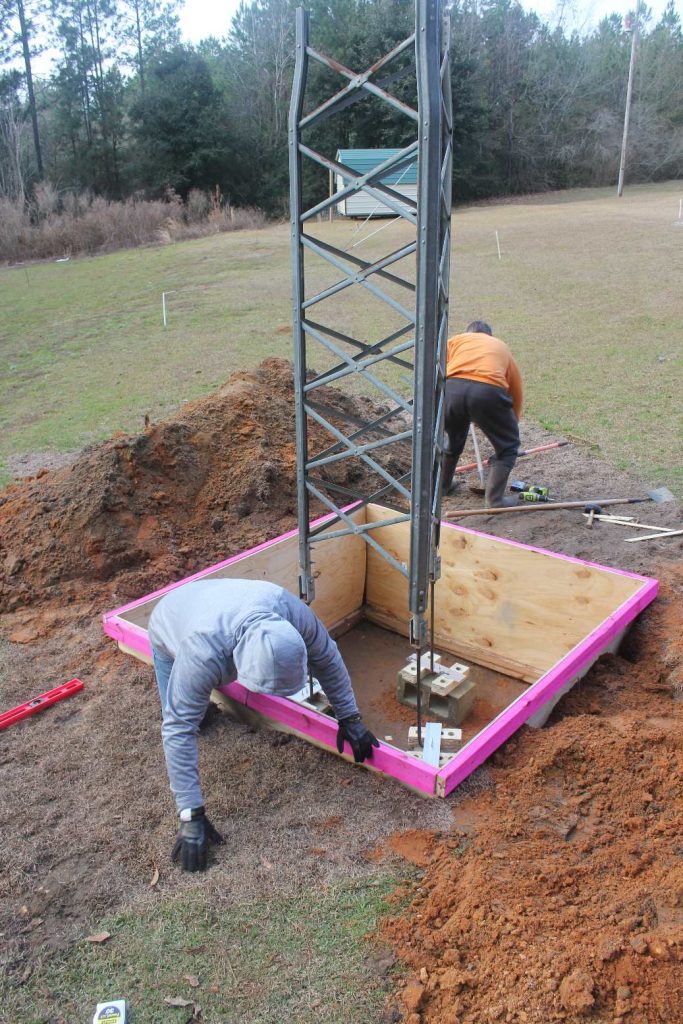
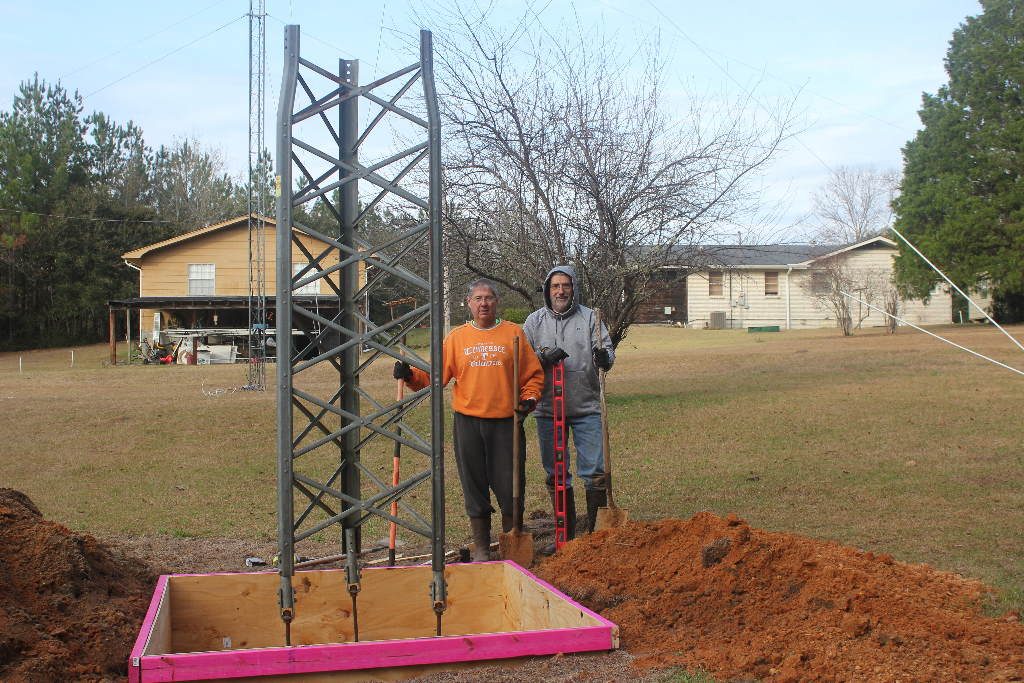
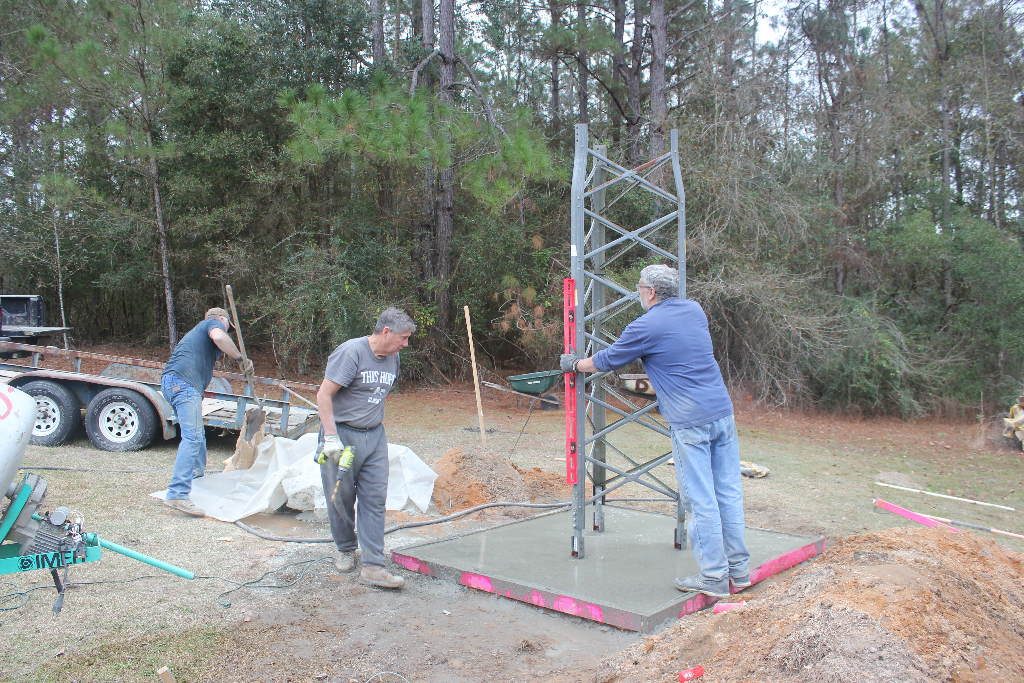
The day before we poured the pad Glenn and I positioned the base section with supports attached to the legs. The two of us were able to lift the section and gently lower it into the hole. We used cinder blocks and bricks to raise the legs up high enough to where the bottom of the “L” section of the leg braces where the pipe attaches would be right at the top of the pad. Those pieces of sheet aluminum I had attached to the leg bars were a big help here. We had done our best to get the bottom of the hole as level as possible but it still took a little dirt here and there under the cinder blocks to get the base section level and plumb. We checked, adjusted, checked again, adjusted again several times until we were certain that the base section was plumb and the bottom of the leg supports would be flush with the concrete pad. Both CRITICAL factors. Bottom middle photo shows that there is NO graceful way for a 60ish ham to climb out of a 3′ hole!!!

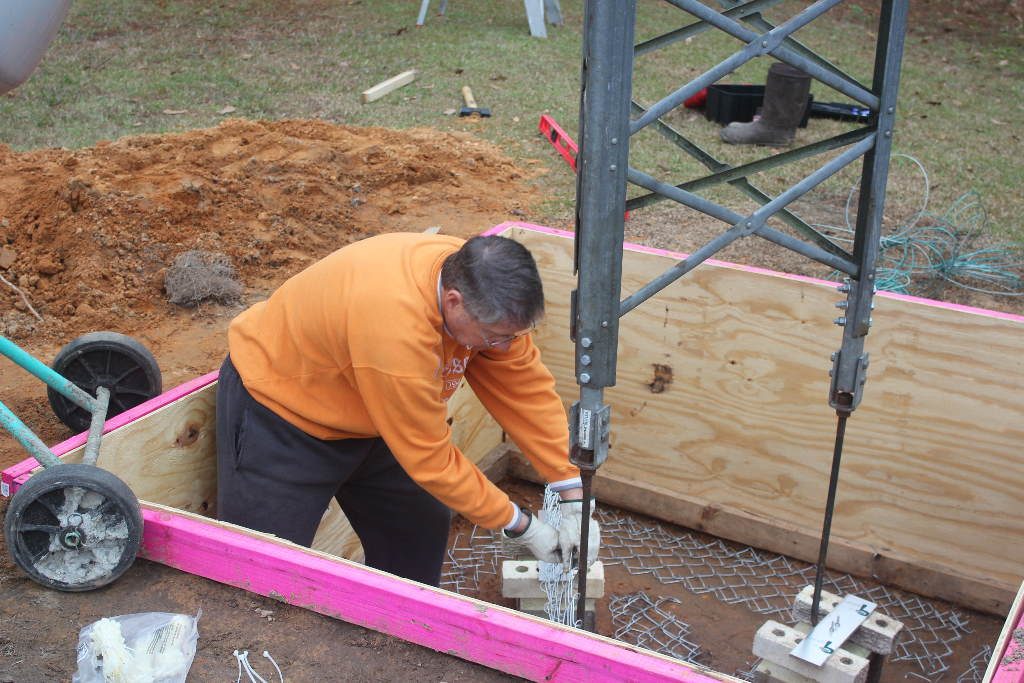
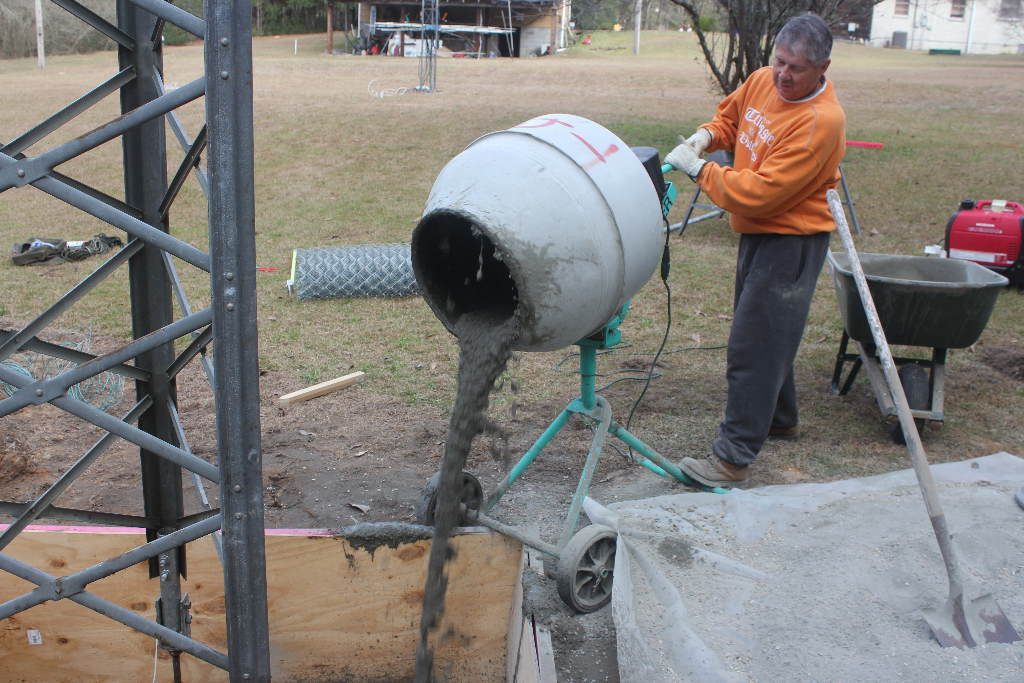
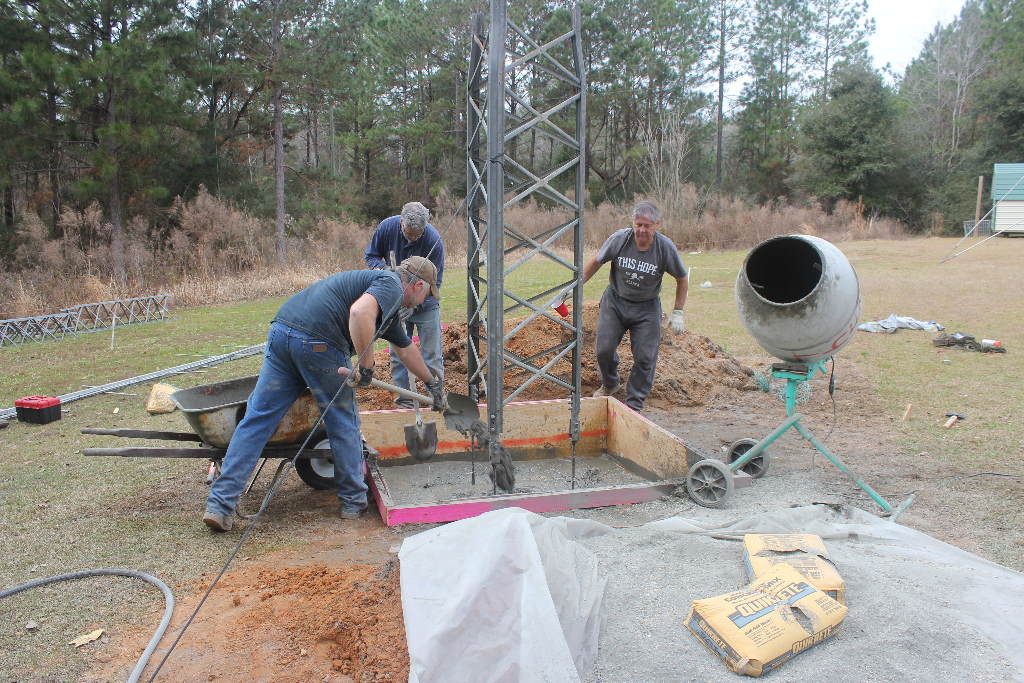
Pouring day had finally arrived. Glenn is getting an early start on grinding off protruding screws and W5UE’s grandkids look on in wonder. In the top right photo you can see where we improvised strength materials. We had some chain-link fencing and cut it into strips. These were laid around the tower base and in sheets every foot of concrete from bottom to top. The electric mixer was a great help allowing us to mix about 2 bags at a time but the motor overheated on us every 30 minutes or so of run-time so we would revert to the old wheel barrow method while it cooled off. This was several hours of back breaking work, even when using the mixer and I am eternally grateful to Glenn and Tony for lending a hand.

We are FINALLY done with the pouring… Glenn informs Randy… “Check all you want but if it ain’t level there’s not much we can do about it now!!!”. And three tired and sore guys. L-R: Randy – W5UE, Glenn – K2FF and Tony (non-ham). Thanks to Randy’s wife Kathy for much of the photography. Nothing to do now other than let it cure for a month or so and schedule a tower/antenna raising party.
Fast Forward to early February 2018
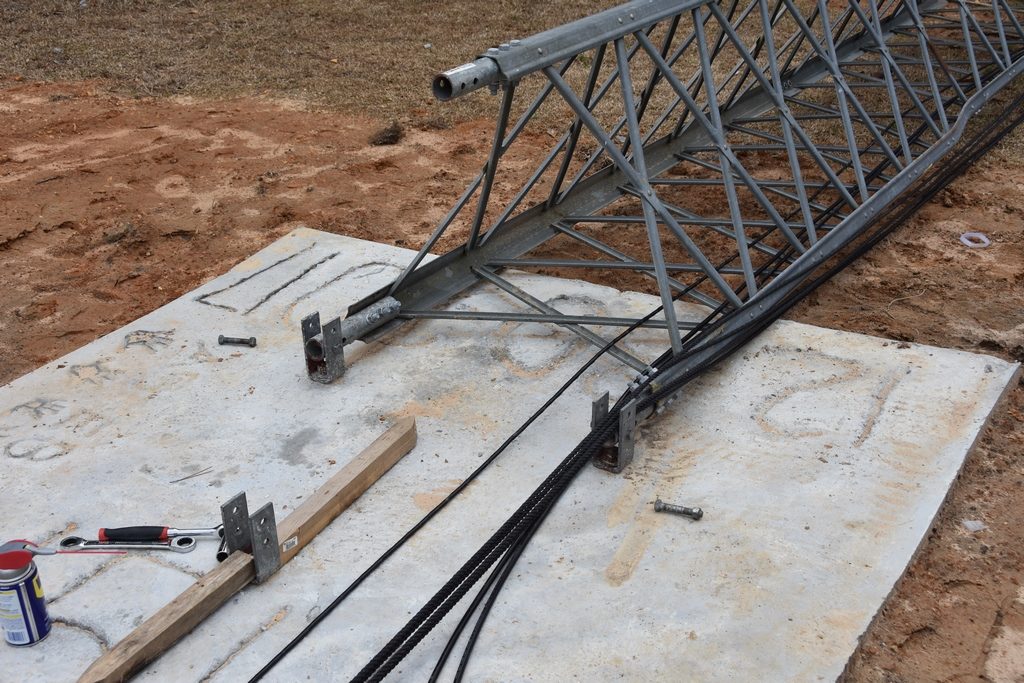
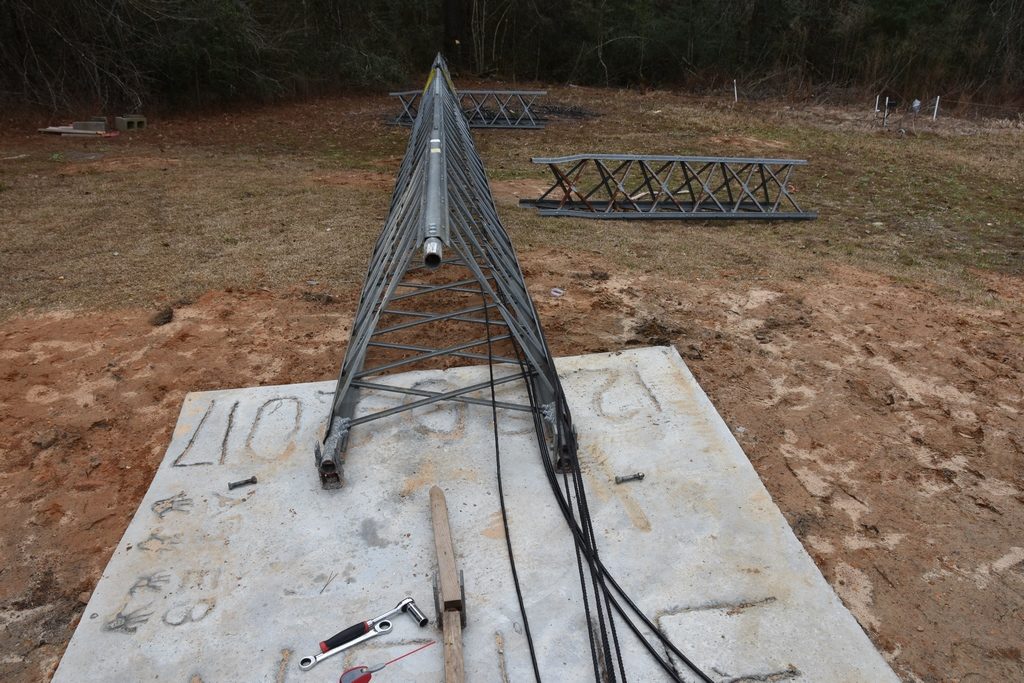
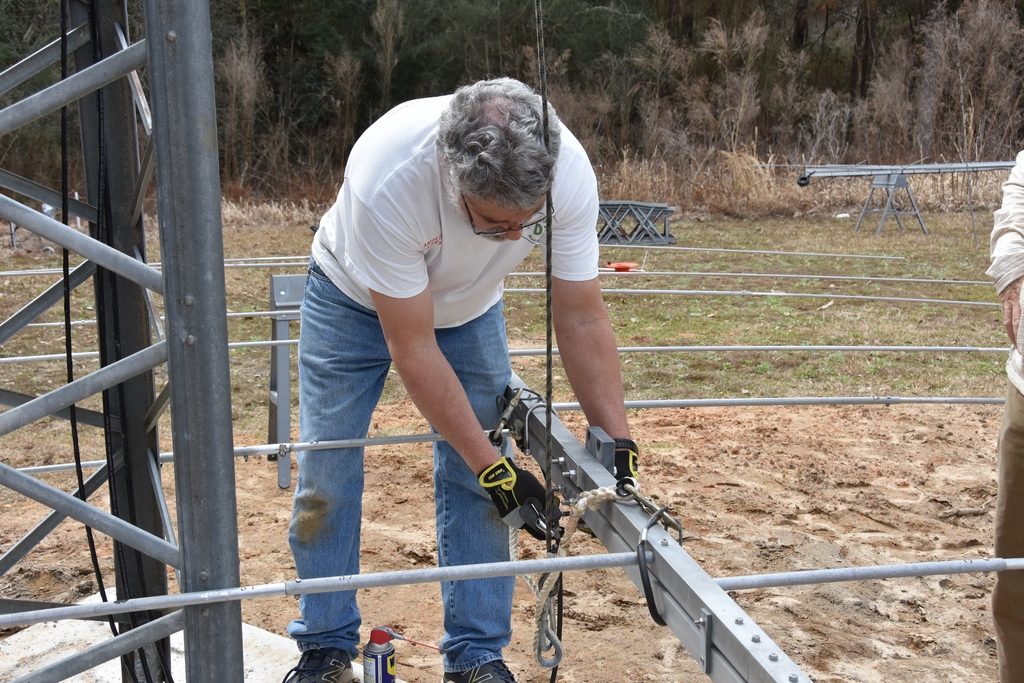
With the concrete adequately cured a tower/antenna raising party was scheduled. W5UE was joined by K2FF, N5GH, N5CW and K5WK to get the tower raised and antennas installed. Prior to raising day W5UE had assembled the entire tower on the ground with two of the legs secured to the tower supports in position to pivot up. Coax and rotor cables were also laid out inside the tower and secured near the top section. Rotor and mast were also pre-installed.
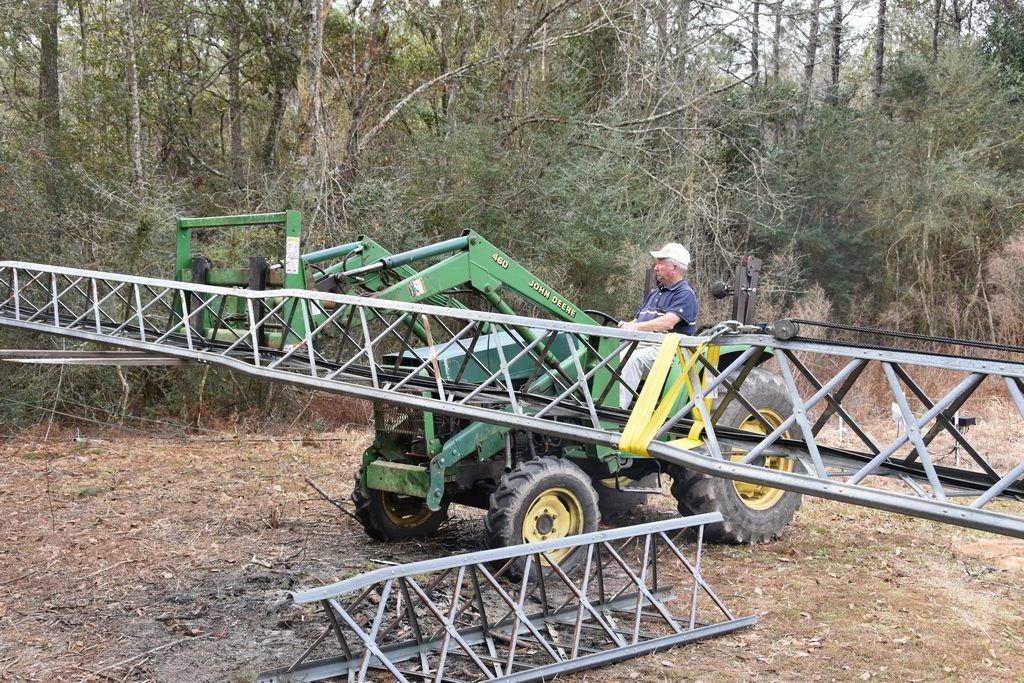
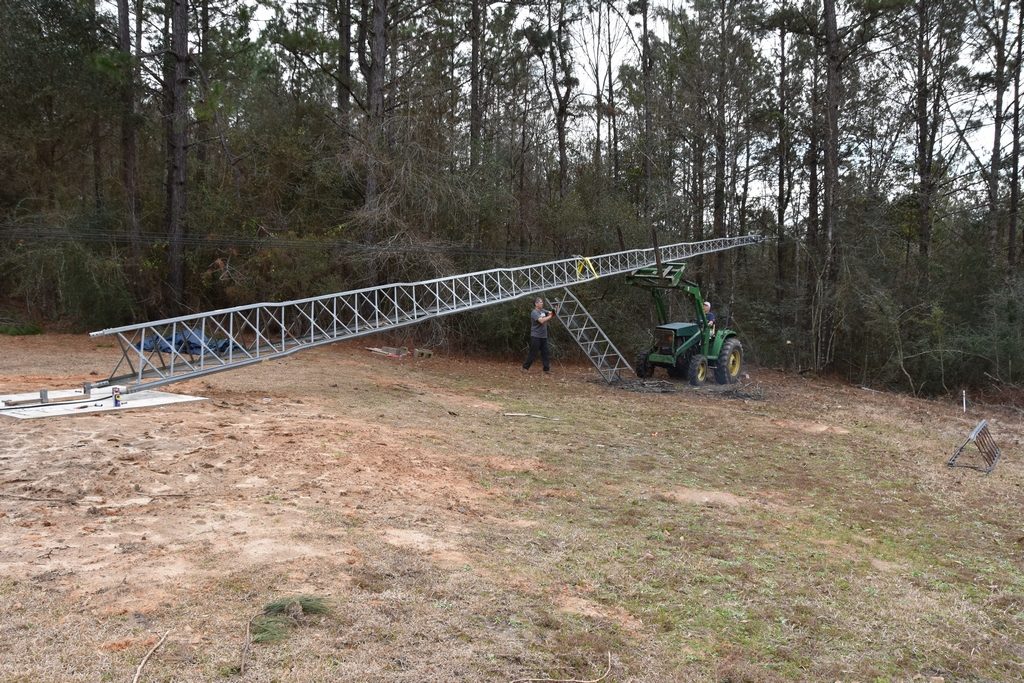
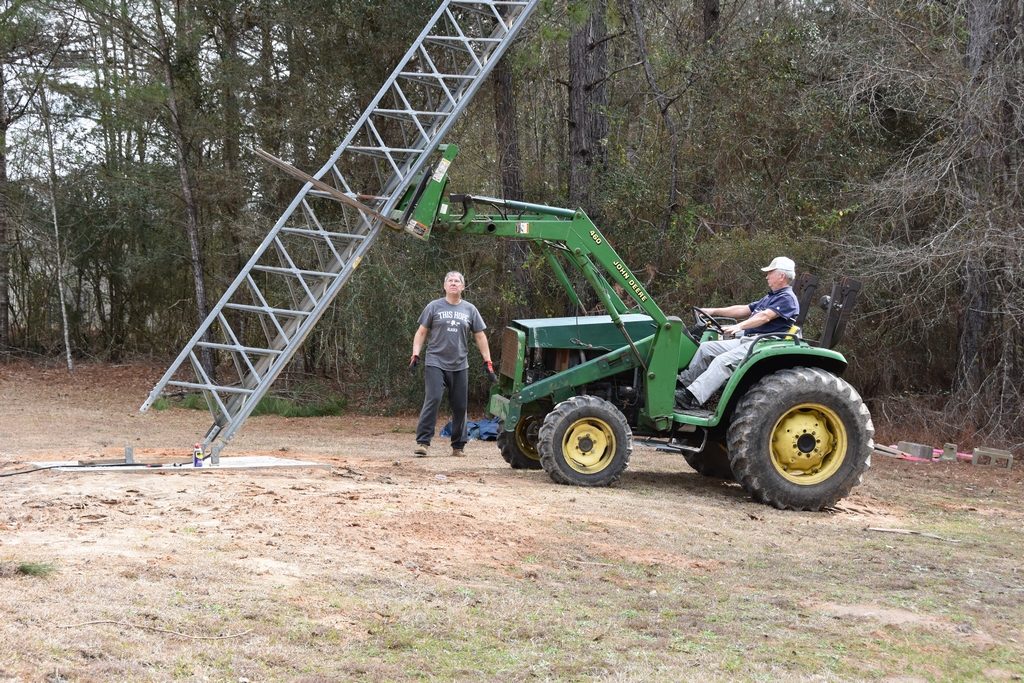
The team discussed a few ideas for lifting the tower. There is an approximately 70′ Rohn 25G tower about 80′ from this tower. The alignment was such that we first thought we could rig a block and tackle about halfway up both towers and use a heavy duty electric wench to pull the BX tower up. Doing some initial rigging and calculations the team decided it was just going to be too much stress on the 25G tower. Besides, the alignment of the two towers was not “ideal” for a straight lift. Enter “Plan B”. N5CW lives fairly close-by and has a tractor with adjustable fork attachment. We thought it was worth a try to get the tower lifted high enough to allow Curt to position the tractor such that the tower sections sat between the forks and he would be able to simply drive it upright. We left the block and tackle in-place to provide a little extra lift. We began by Curt (N5CW) lifting the tower off the ground high enough so we could slip an unused BX tower section under the assembled tower to allow Curt to position the tractor at the end of the tower with forks positioned on either side of the tower. The 3 photos below show that sequence.
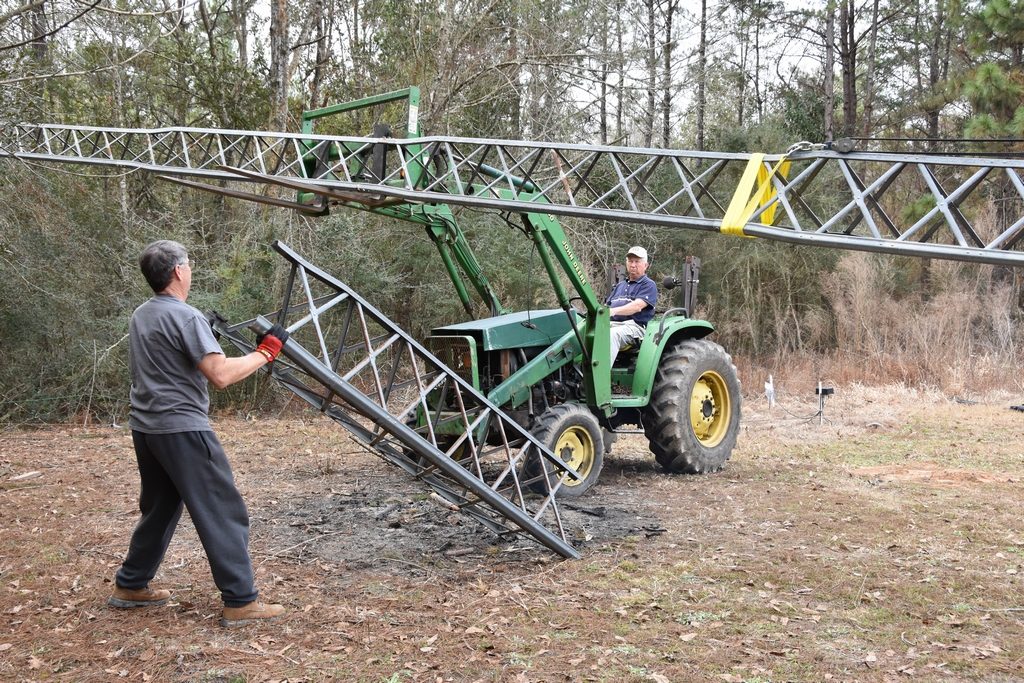
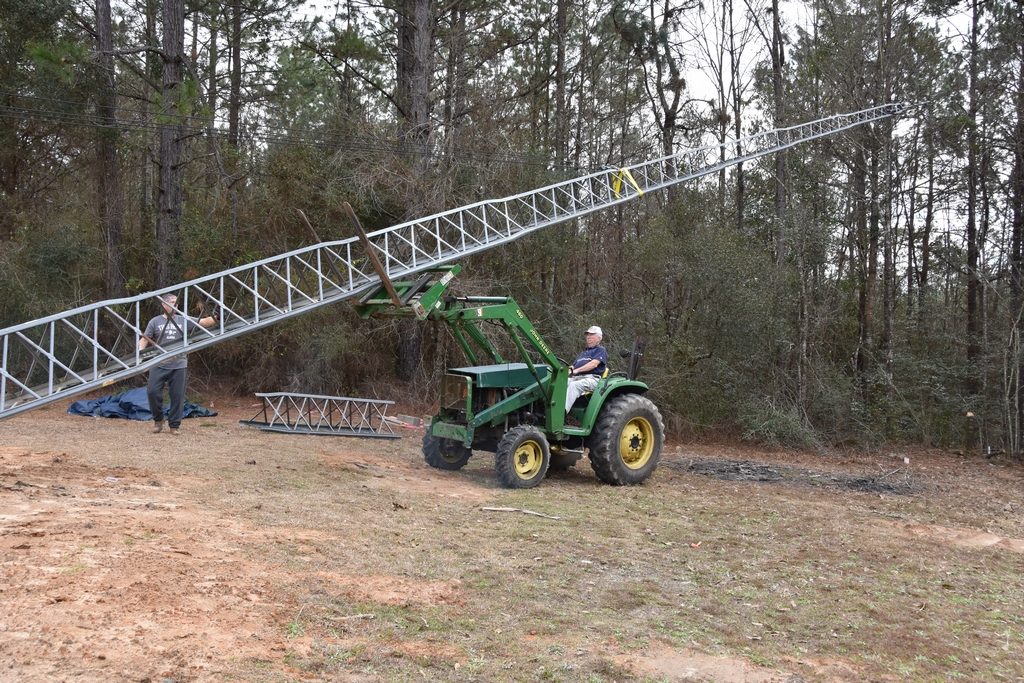
Curt slowly began moving forward until reaching the section of tower supporting the BX tower. At this point he lifted the tower enough for us to remove the support section and reposition it on the other side of the strap attaching the block and tackle cable to the tower. After repositioning and lifting again to allow K2FF (Glenn) to remove the tower section the tractor was supporting the weight of the tower along with some stress relief provided by the block and tackle.

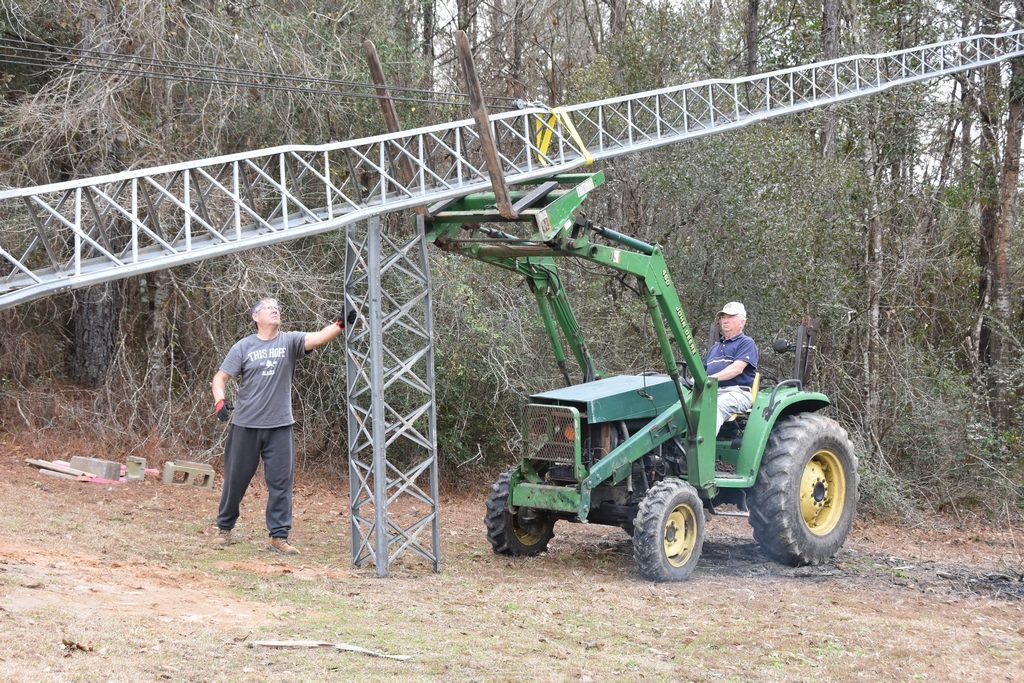
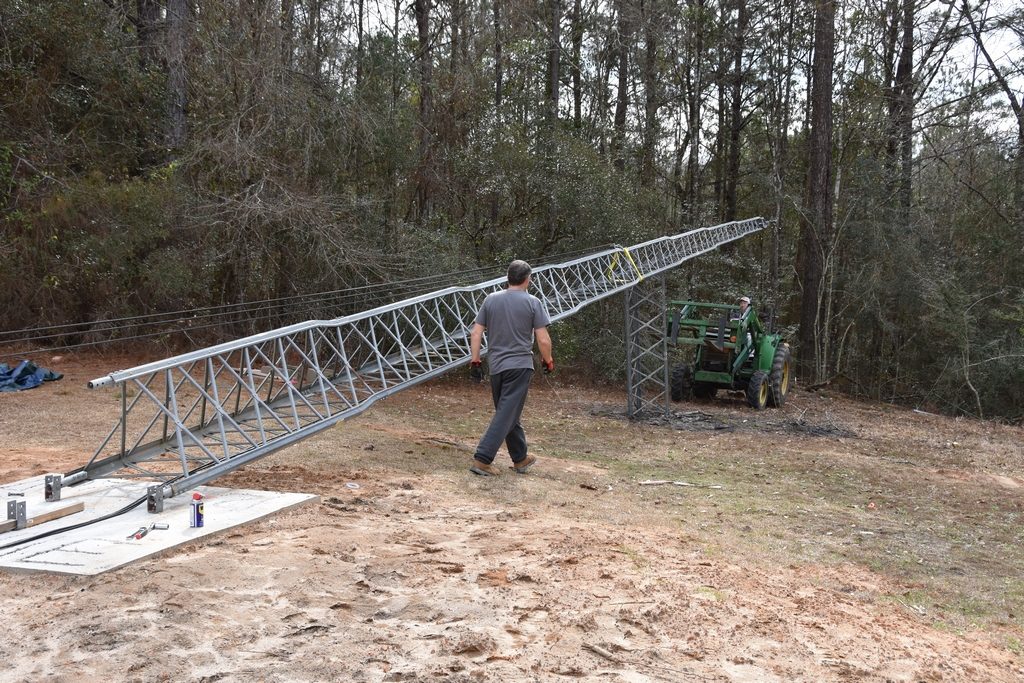
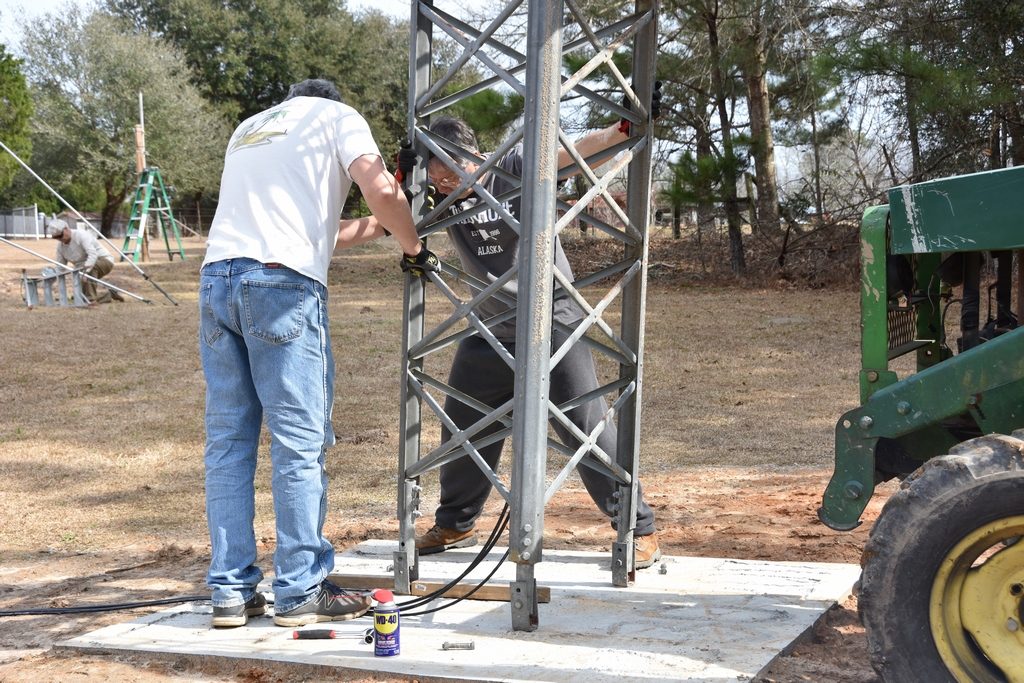
Moving a little at a time the tower slowly was moving into the upright position. Glenn was guiding Curt all the way and the rest of the team were manning the wench keeping as much tension on the cable to make the lift easier for the tractor.
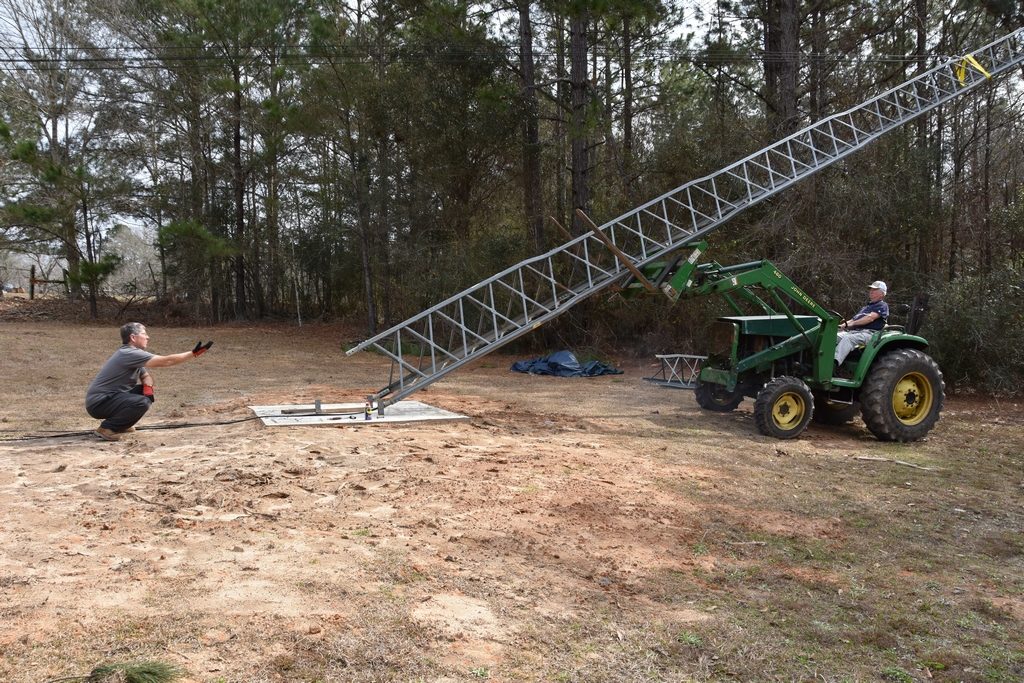

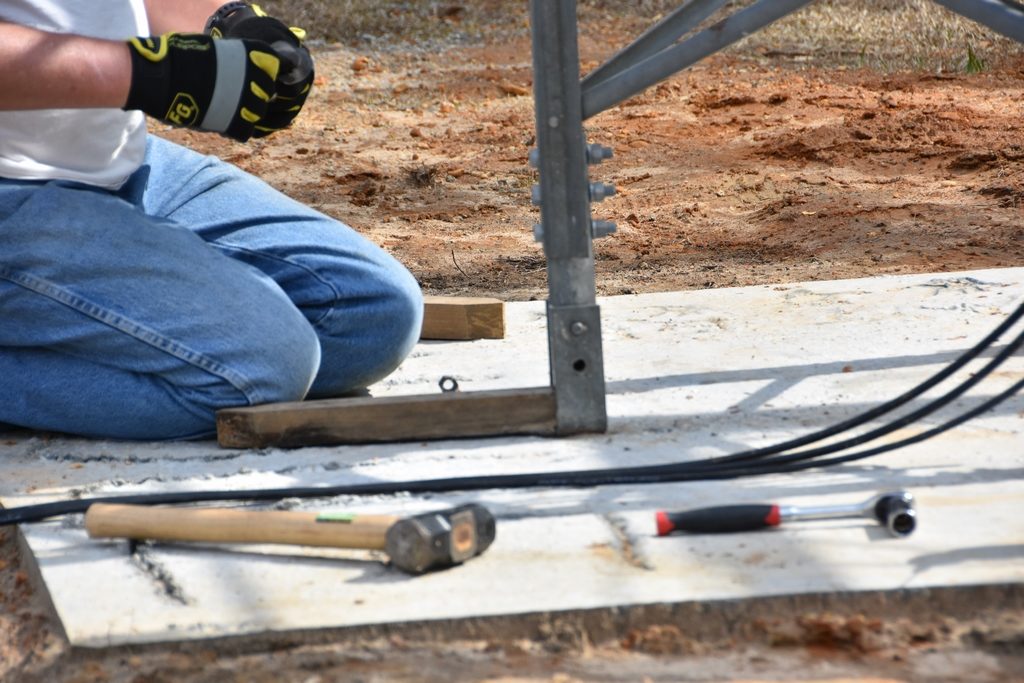
The last few inches were slow and easy with W5UE (Randy) making sure the leg support pipe slid correctly into the U-bracket. A few blocks of wood were placed inside the U-bracket to keep the leg from overshooting the bolt holes. The leg was secured with 2 bolts/nuts and the tower was ready for antennas.


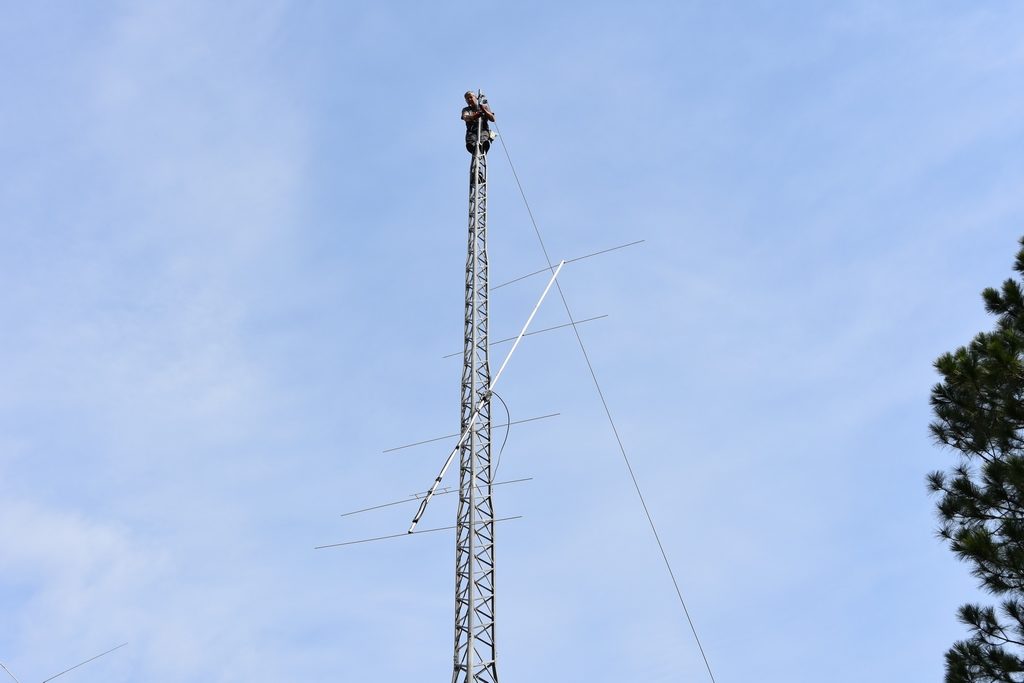
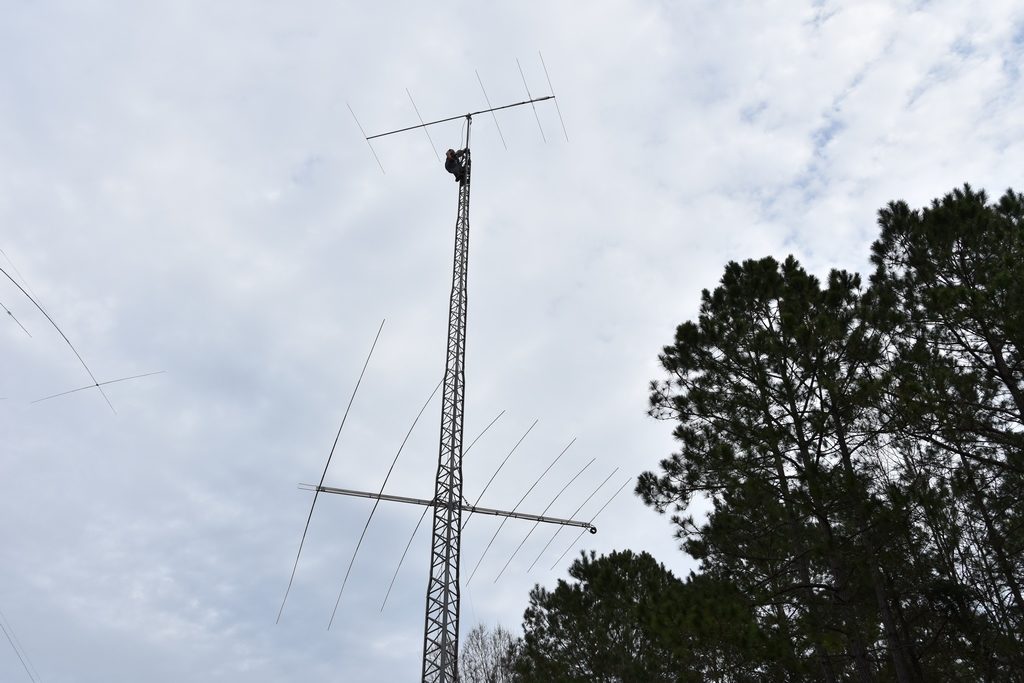
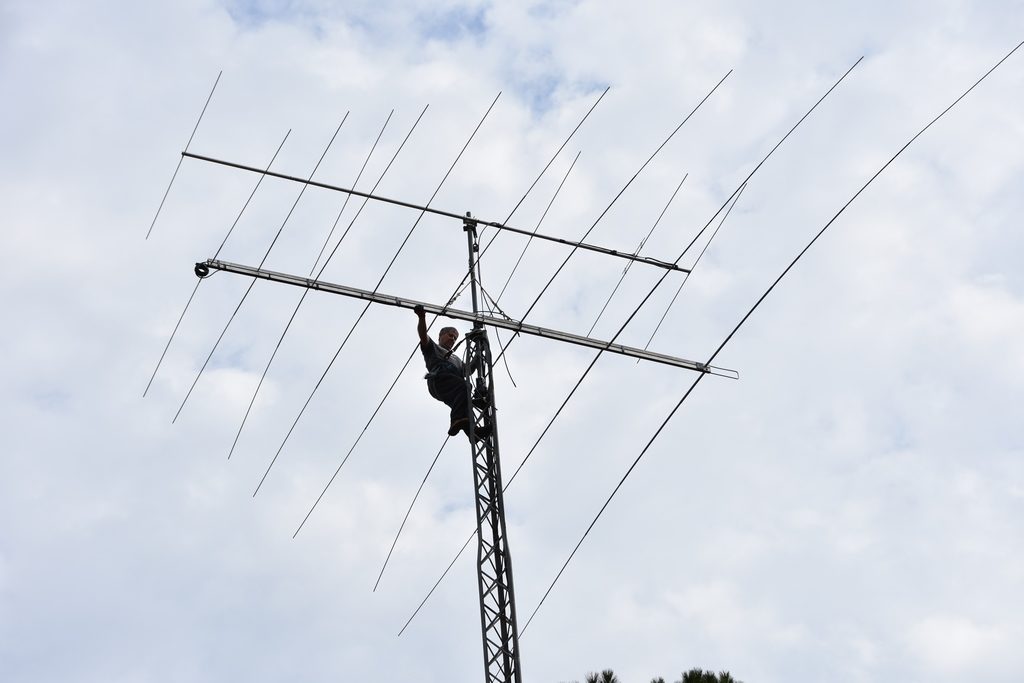
We installed my 5 element, 6M yagi and Tennadyne T8 LPDA antennas on the tower. First up was the 6M antenna to go at the top of the mast. Easy to simply pull it up to Glenn and let him position it and lock it down.. Next came the T8. We used a bridle on the T8 boom with a pulley attached to the mast for Randy to pull the antenna up to Glenn. With the bridle positioned such that the T8 balanced well the T8 slipped straight up the tower to Glenn who then bolted it to the mast. NOTE: The T8 has since been replaced by a SteppIR 3E.


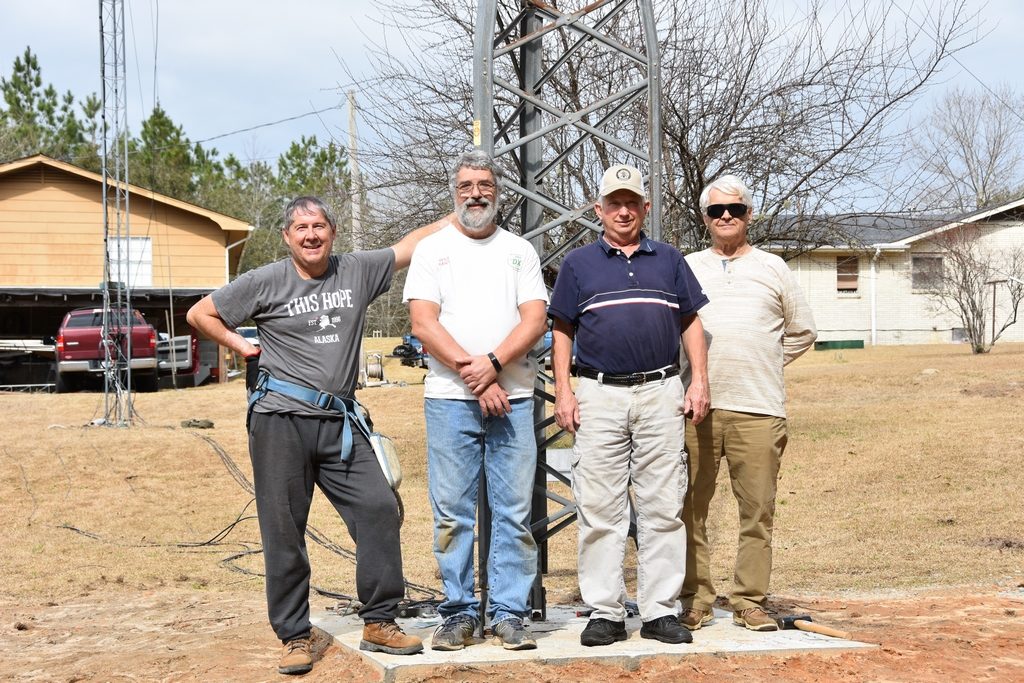
A good day’s work for the crew, L-R: Glenn – K2FF, Randy – W5UE, Curt – N5CW, Ken – K5WK. George, N5GH was taking the photos the whole time and none of us thought to snap one of him..